Okay, let’s talk duck waste management.
One of the first things that you’ll learn when you bring home your first ducks is that they poop a lot… and everywhere.
Suffice to say that one of the biggest problems for new duck owners is dealing with all that waste.
A lot of new duck owners quickly get overwhelmed at trying to keep their coop clean. Sometimes, people treat their coop like a litterbox and clean it one or more times a week. Frequent cleaning is time-consuming and labor-intensive, but there’s an alternative.
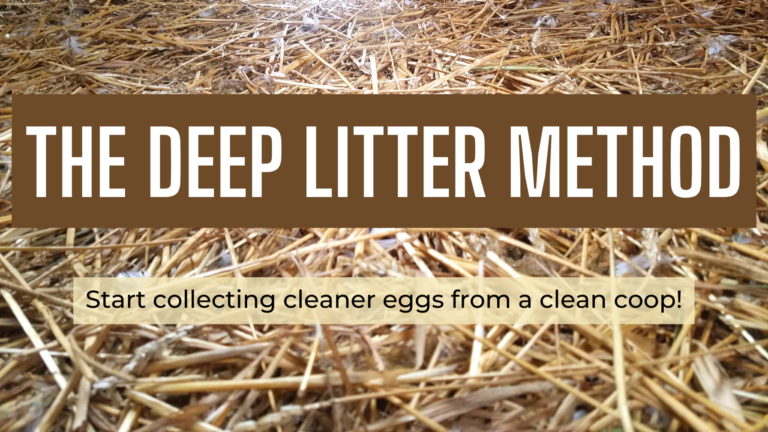
Enter the deep litter method.
Use the deep litter method to reduce your workload, keep your coop and eggs clean, create a soft, warm bed for your birds, and make great compost. Read on to learn why and how to use the deep litter method!
Why You Should Use the Deep Litter Method
Save Time
As homesteaders, most of us are already stretched for time between our jobs, managing our home, and taking care of our farms. So, anything that can help save us time is always a good thing. The deep litter method is great because it saves you tons of time.
Rather than having to clean your duck coop weekly or even monthly, you can clean your coop only a handful of times per YEAR with the deep litter method.
Rather than having to clean your duck coop weekly or even monthly, you can clean your coop only a handful of times per YEAR with the deep litter method. This will save you hours upon hours of time throughout the course of a year and allow you to do more productive things like feeding, cleaning, butchering, gardening, or anything else that you have on your plate.
Keep Your Coop & Eggs Clean
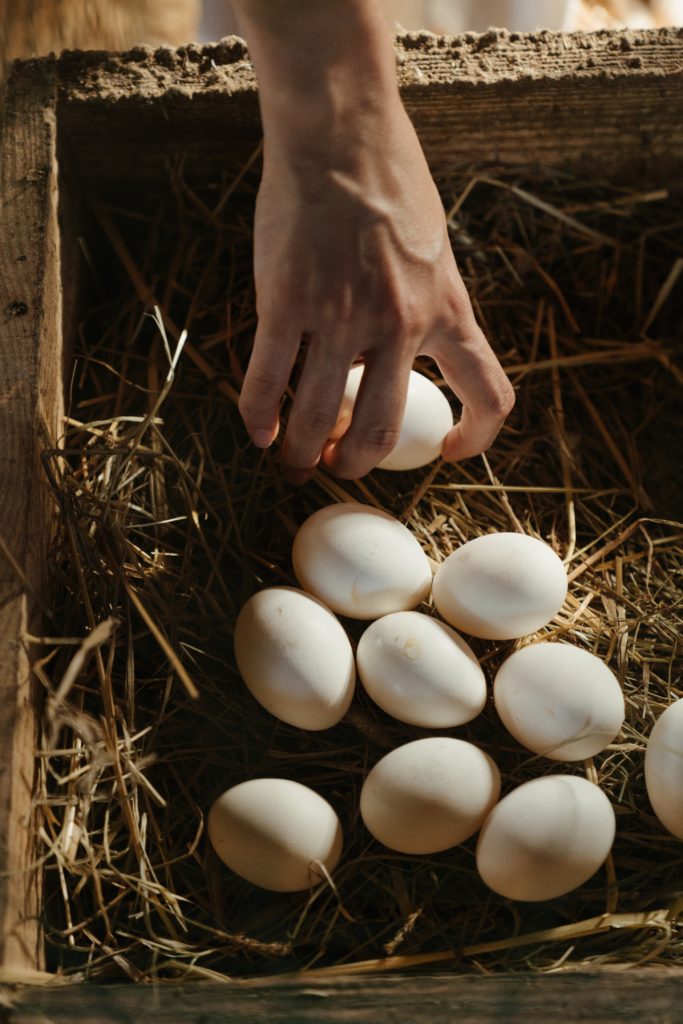
When I compare ducks and chickens, one of the first things that pops into my head is the difference in cleanliness between these two birds. Chickens are quite clean animals – they tend to eat, drink, and poop far away from their nests, meaning that waste and eggs stay separate. When I owned chickens, I hardly ever had to clean their eggs because they laid in dedicated nests that they almost never pooped in.
Ducks, on the other hand, are far less picky about where they eat, sleep, and lay their eggs. Thus, their eggs are often laid amongst their waste, leading to dirty eggs for you to clean every day. Using the deep litter method will go a long way to helping you keep a clean environment for your ducks to lay their eggs in.
The deep litter method works by continually putting new layers of clean bedding on top of soiled bedding. Your ducks will always have a fresh surface to nest and rest on.
The deep litter method works by continually putting new layers of clean bedding on top of soiled bedding. Your ducks will always have a fresh surface to nest and rest on. Now of course this isn’t a foolproof way to have perfectly clean eggs every time; but since I switched to the deep litter method, I’ve noticed that my eggs go from completely filthy to having patches of muck here and there.
The deep litter method can also promote nesting inside of your coop rather than outside. Ducks love to rummage through layers of bedding and vegetation- just like the fun layers that the deep litter method creates! So, using deep litter will make your coop a more attractive place for your ducks to settle down and lay their eggs, thereby increasing the chances that they will lay inside their coop rather than outside. I don’t know about you, but I would much rather gather my eggs from my coop than go on a wild goose chase around the barnyard to find the random places my ducks decided to lay in.
Keep Your Ducks Warm
If you live in a colder climate, one thing you’ll probably find yourself worrying about is how your birds will survive in the winter. There are lots of ways that you can keep ducks warm: having an insulated coop, providing them with friends, or possibly using heat lamps.
Heat lamps are a whole different issue – I could make a whole article about the pros and cons of heat lamps. But I don’t like using heat lamps because they pose a massive fire hazard and use tons of electricity. So, I have avoided using heat lamps as much as possible. And it was actually my avoidance of heat lamps that helped lead me to the deep litter method…
Guess what? The deep litter method can create extra warmth for your ducks!
Guess what? The deep litter method can create extra warmth for your ducks! Remember how I talked about creating layers of bedding? That’s how this method produces heat – during the process of decomposition (aka composting), the lower layers of bedding will produce a bit of heat. In fact, well-managed compost piles can reach temperatures up to 170 degrees Fahrenheit.![]()
![]()
![]()
![]()
Now that’s not to say that your coop is going to turn into an oven using the deep litter method, but it can help raise the inside of your coop 10 or 15 degrees above the ambient outdoor temperature.
![]()
![]()
![]()
![]()
Just as important as creating heat for your ducks, the deep litter method also helps to preserve heat. The deep litter method creates a nice thick insulative layer of bedding that conserves the heat that your ducks’ bodies generate.
To sum it up, the deep litter method both creates and conserves heat for your ducks. This is the perfect combination of factors to help keep your ducks nice and cozy through even the most frigid of winters.
Hey! You can probably see by now that it would be a huge mistake not to use the deep litter method. If you want to learn about mistakes to steer clear of, click here!
Create Great Compost
As you already might have guessed, another great benefit of the deep litter method for ducks is that it creates great compost. If you’re a homesteader like me then you value good compost. Good compost makes for great vegetables and fruits.
I’ve already explained how deeper bedding layers in a deep litter coop will compost over time. This means the bedding you pull out of your coop won’t take as long to compost in a pile because the process started in the coop.
And, in the fall or early winter, you can take your used deep litter and put it directly on your garden beds as a protective mulch. If it’s springtime, you can let your used bedding finish composting in a pile and have finished compost in just a few weeks.
Deep Litter Management
Adding New Layers
We’ve covered the why on the deep litter method. Now let’s talk about the how. So, if you’ve read this far you might think that the deep litter method sounds great but might be skeptical about how hygienic and practical it is.
Let me assure you that the deep litter method is just as clean as traditional bedding methods. Even though you aren’t physically removing duck droppings, they are being covered and actively composted. When done correctly, your ducks will always have a clean top layer of bedding.
The deep litter method is the most practical bedding method for ducks because it’s simple and requires a very short time investment
If you ask me, the deep litter method is the most practical bedding method for ducks because it’s simple and requires a very short time investment.
You can use any bedding material you like – as long as it’s organic matter (e.g. not sand). You can use shavings, straw, hay, shredded paper, compressed bedding pellets, etc. Personally, I use a base of compressed bedding pellets to absorb excess moisture, followed by about 2 inches of shavings, and then a bed of straw. After the initial three base layers, I use straw or shavings to create my deep litter layers.
Once your first layer of bedding is down, all you need to do is periodically top off your coop with clean bedding. I usually add more bedding once a week or as soon as the bedding is soiled. The frequency that you add bedding will vary by season. In the winter, your birds will spend more time indoors, thus creating more waste indoors. In the summer, however, your birds will spend most of their time outdoors and poop will build up much slower inside.
Aerating & Turning
Besides adding new bedding when needed, the only other thing that you need to do is periodically aerate and turn your bedding.
Aerating is important because it provides essential oxygen to the microorganisms that are composting the bedding. Similarly, turning the bedding ensures even dispersion of moisture, oxygen, and fuel for our microorganism friends.
I recommend aerating your deep litter about once a week – for convenience, you can aerate each time you add a new bedding layer. To aerate your bedding, just use a pitchfork or shovel to gently lift and shake your litter from the bottom. You’ll know you’ve aerated correctly if your bedding is slightly fluffed up and has air pockets that deflate when you step on them.
Turning the bedding should happen less frequently than aerating. Turning once a month is usually sufficient. The easiest way to turn your bedding is to lift sections of bedding with a shovel and flip them over when you replace them. For extra efficacy, replace bedding sections in different places. Make sure you always add new bedding after turning. When you turn deep litter over, you are bringing old waste back to the top, and you don’t want your ducks laying directly on it.
How Often to Strip Your Coop
The length of time that you leave bedding in your coop is almost entirely up to you. Most people choose to fully strip their coop 2 to 4 times per year. It depends mostly on how much time your birds spend inside and how tall your coop is.
If you live somewhere mild, your birds will spend very little time inside. Since I live in snowy Wisconsin, I can’t speak from experience; but I would imagine that it’s only necessary to change bedding twice a year somewhere like Florida or Texas. Simply put – the more time ducks spend inside, the more they poop inside.
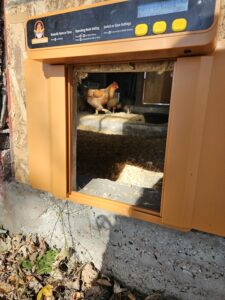
The other key indicator that it’s time to clean out the coop is if the bedding is so high that it impedes the doorways or headspace in your coop. In my coop, I’ve got a little duck-sized door that is only 18 inches tall. I always make sure to clean out my coop when the ducks start having trouble getting under the door.
If you have a shorter coop (one that isn’t tall enough for a person to walk in), you’ll also want to keep an eye on the headspace in your coop. In a coop that’s three or four feet tall, deep litter can quickly diminish the vertical space that is available to your birds.
There you have it – the deep litter method basics. If you want a cleaner, warmer coop with clean eggs and happier ducks, you need to switch to the deep litter method today!
Let me know down below if you use the deep litter method and what you think of it. Thanks for reading and happy homesteading!